深圳超互联思维电子有限公司 | 会员登录 | 注册账号
TI德州仪器专业分销商 我们只做全新原装正品
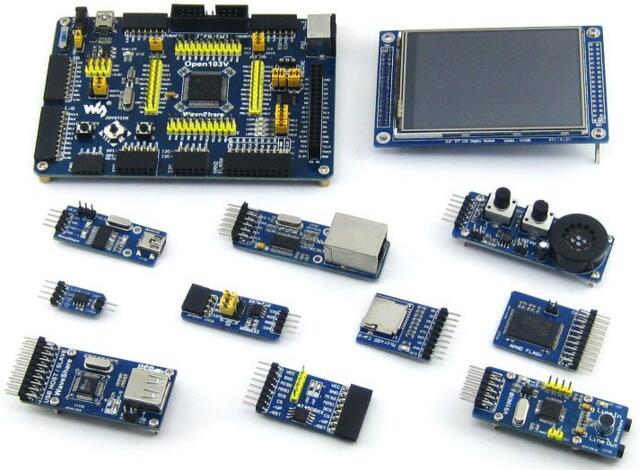
Open103V Package B  , STM32F1 Development Board SKU: Open103V Package B
  |  0 订单数量
发货方式
 顺丰速运 (https://www.sf-express.com/)
 圆通快递 (https://www.yto.net.cn/)
 中通快递 (https://www.zto.com/)
 顺丰速运 (https://www.sf-express.com/)港澳台
 无需物流 (线下配送)
数量
 PCS
金额
合计 ¥0.00
 
选择我们!为您的需求保驾护航!!!^_^
数据转换器
产品详情
型号Open103V Package B
品牌Waveshare
年份16+
描述-, STM32F1 Development Board SKU: Open103V Package B
 规格书点击查看
-
  • $88.99 
    $86.692+
    $85.193+
    $84.194+

    DESCRIPTION
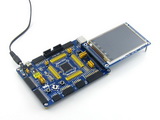
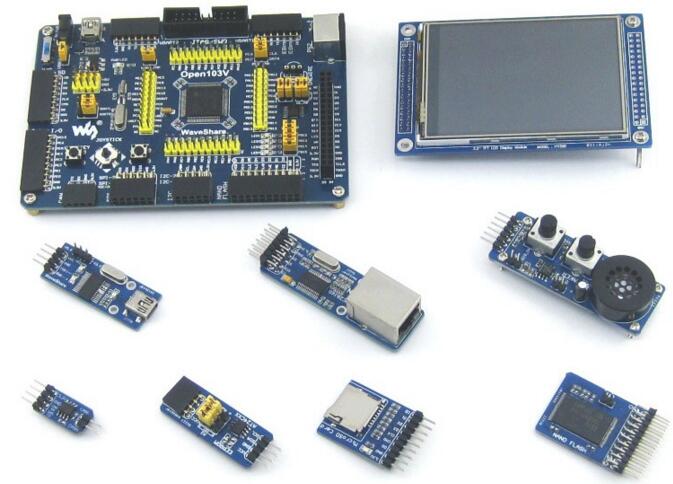
    STM32 development board designed for STM32F103V series, features the STM32F103VET6 MCU, and integrates various standard interfaces, pretty easy for peripheral expansions.
    STM32F103VET6 development board

    Overview

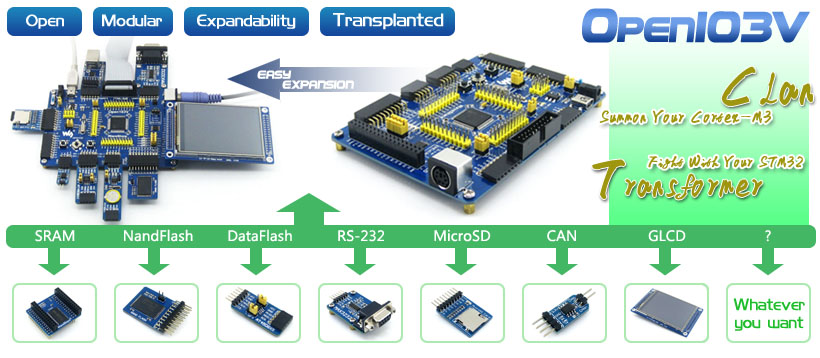
    Open103V is a STM32 development board that features a STM32F103VET6 device as the microcontroller. There are further expansions with various optional accessory boards for specific application. The modular and open design makes it the ideal for starting application development with STM32F family.


    What's On Board

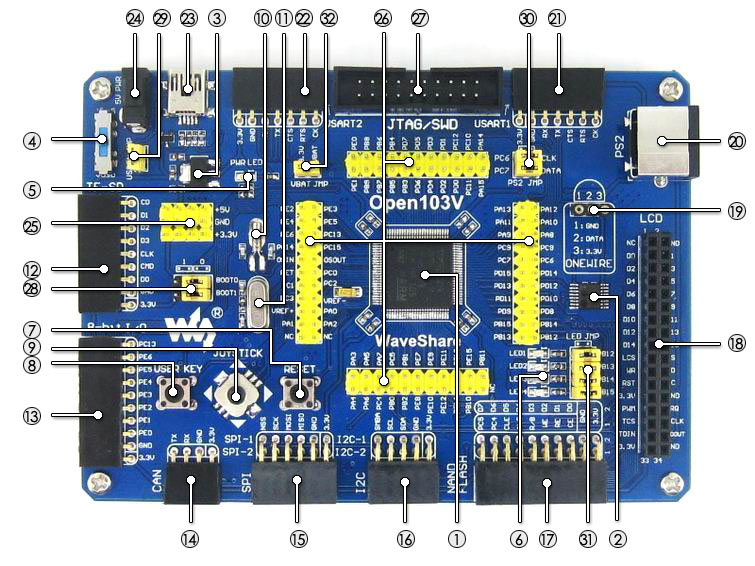
    STM32F103VET6 development board on board resource
    1. STM32F103VET6:the high performance STM32 MCU in LQFP100 package which features
      • Core: ARM Cortex-M3 32-bit RISC;
      • Operating Frequency: 72MHz, 1.25 DMIPS/MHz;
      • I/Os: 80;
      • Operating Voltage: 2-3.6V;
      • Memories: 512K Flash, 64K RAM (the highest specification in STM32F103V series);
      • Communication Interfaces: 3xSPI, 5xUSART, 2xI2S, 2xI2C, 1xFSMC, 1xLCD, 1xSDIO, 1xUSB, 1xCAN;
      • AD & DA converters: 3xAD(12bit, 1μs, shares 16 channels); 2xDA(12bit);
      • Debugging/Programming: supports JTAG/SWD (serial wire debug) interfaces, supports IAP;
    2. 74LVC139: for FSMC expansion, makes it possible to connect multi peripherals through FSMC at the same time, such as connecting a LCD and a NAND FLASH;
    3. AMS1117-3.3: 3.3V voltage regulator;
    4. Power supply switch: 5V DC or USB;
    5. Power indicator;
    6. LEDs: Convenient for indicating I/O status or program debugging running state;
    7. Reset button;
    8. User key;
    9. Joystick: Convenient for I/O input (five positions);
    10. 32.768K crystal oscillator: used for internal RTC;
    11. 8M crystal oscillator: enables the MCU run at 72M frequency by frequency multiplication;
    12. SDIO Interface: connects to the Micro SD Board easily, It is much faster to read/write the Micro SD card via SDIO than via SPI;
    13. 8 I/O Interface: easily connects to keypad, motor, etc.;
    14. CAN Interface: communicates with accessory board which features the CAN device conveniently;
    15. SPI Interface: easily connects to SPI peripherals such as FLASH (AT45DBxx), SD card, MP3, etc.;
    16. I2C Interface: easily connects to I2C peripherals such as I/O expander(PCF8574), EEPROM (AT24Cxx), etc.;
    17. NAND FLASH Interface: easily connects to the NAND FLASH peripherals;
    18. LCD Interface: easily connects to the touch screen LCD;
    19. ONE-WIRE Interface: easily connects to ONE-WIRE devices (TO-92 package), such as temperature sensor (DS18B20), electronic registration number (DS2401), etc.
    20. PS/2 Interface: easily connects to PS/2 keyboard or mouse;
    21. USART1 Interface: easily connects to RS232, RS485, USB TO 232;
    22. USART2 Interface: easily connects to RS232, RS485, USB TO 232;
    23. USB Port: USB communication between board and PC;
    24. 5V DC jack;
    25. 5V/3.3 V power input/output;
    26. MCU pins connector: all the MCU pins are accessible on expansion connectors for further expansion;
    27. JTAG/SWD interface: for debugging/programming;
    28. Boot Mode Selection: for configuring the BOOT0 and BOOT1 pins;
    29. USB Enable Jumper
      • Short the jumper to enable the PC auto detection while USB connecting;
      • Open the jumper to disable;
    30. PS/2 Interface Jumper
      • Short the jumper to connect the PS/2 device to default I/Os;
      • Open the jumper to connect the PS/2 device to custom I/Os via DuPont wires;
    31. LEDs Jumper
      • Short the jumper to connect the LEDs to default I/Os;
      • Open the jumper to connect the LEDs to custom I/Os via DuPont wires;
    32. VBAT Selection Jumper
      • Short the jumper to use system power supply;
      • Open the jumper to connect the VBAT to external power, such as battery;

    Photos

    STM32 Development Board
    Open103V Development Board
    STM32 Development Board
    Connecting to touch screen LCD
    STM32 Development Board
    Connecting to ST-LINK
    STM32 Development Board
    Connecting to various peripherals

    Open103V μC/OS-II (Ⅰ)
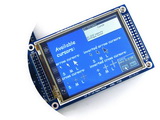
    Open103V-ucosii
    Open103V μC/OS-II (Ⅱ)
    Open103V-ucosii
    Open103V μC/OS-II (Ⅲ)
    Open103V-ucosii
    Open103V μC/OS-II (Ⅳ)
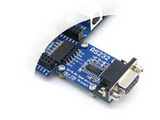
    RS232 Board
    Connecting to RS232 Board via USART
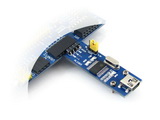
    PL2303 USB UART Board mini
    Connecting to USB UART Board via USART
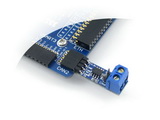
    SN65HVD230-CAN-Board
    Connecting to CAN Board via CAN
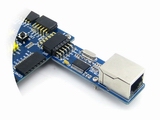
    ENC28J60 Ethernet Board
    Connecting to Ethernet Board via SPI
    SL811 USB Board
    Connecting to SL811 USB Board via FSMC
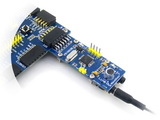
    VS1003B MP3 Board
    Connecting to VS1003B MP3 Board via SPI
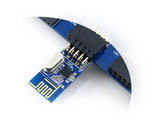
    NRF24L01 RF Board
    Connecting to NRF24L01 RF Board via SPI
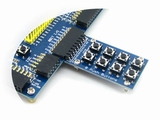
    8 Push Buttons
    8 Push Buttons on the 8Bit I/O
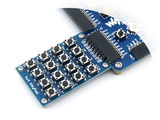
    4x4 Keypad
    4x4 Keypad on the 8Bit I/O
    Analog Test Board
    Test Board on the AD/DA port
    AT24CXX EEPROM Board
    Connecting to EEPROM Board via I2C
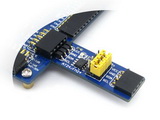
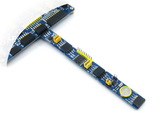
    I2C cascading x3
    Multi I2C peripheral Module connected to the I2C bus
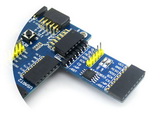
    AT45DBXX-DataFlash-Board
    Connecting to DataFlash Board via SPI
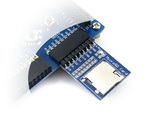
    Micro-SD-Storage-Board
    Connecting to Micro SD Board via SDIO
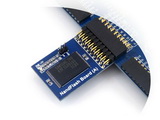
    NandFlash-Board-A
    Connecting to NandFlash Board via FSMC
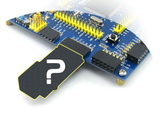
    Connecting to any accessory board
    Connecting to any accessory board you need

    Note: 
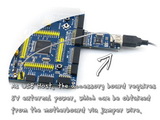
    The Open103V supports programming via STM32 USART bootloader, a USB TO UART accessory board is also provided in the package. 
    The Open103V does NOT integrate any debugging function, a debugger is required.


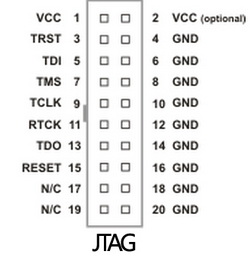
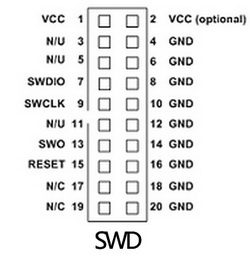
    JTAG/SWD Interfaces

    The figure 1, and 2 show the header pinouts of JTAG/SWD interface

    Figure 1. JTAG Header Pinout
    JTAG Header Pinout
    Figure 2. SWD Header Pinout
    SWD Header Pinout

    Development Resources

    • Related softwares (KEIL etc.)
    • Demo Code (examples in C, μC/OS-II)
    • Schematic (PDF)
    • STM32 Development documents (Datasheet etc.)

    Wiki: www.waveshare.com/wiki/Open103V


www.cn.int-thinking.net©2006-2017深圳超互联思维电子有限公司(版权所有)